Sunday, October 17, 2010

Maple Whoopie Pie w/ Caramel Frosting

I've been in the mood to make a "fall dessert," so this maple/caramel delight fit the bill.  Normally, I try to make everything from scratch so that I can practice baking and get as much experience under my belt as possible, but I received a mix as a gift, so I figured I'd better put it to good use. It just wouldn't be fair not to make it, right?
The mix was for maple cookies with vanilla cream frosting, but the box frosting was awful and didn't really add anything to the flavor of the cookies, so I ended up making a caramel frosting instead. 
I have a problem with cookies because I always...ALWAYS make them too big.  No matter how much I try to reduce the amount of batter placed on the cookie sheet, they always come out 3 or 4 inches wide.

These were some monster whoopie pies!

Saturday, October 9, 2010

Mini Boston Cream Pies

This project was all about learning how to make several paper-thin layers of cake.  This is accomplished by piping round disks onto cookie sheets. Rather than make a standard size cake, I decided to go with minis!  The cake is filled with vanilla pastry cream and the top is chocolate ganache.  I also had some left-over peanut butter butter cream, so I added that on to a couple of the layers too.  Now that I know how to use this technique, I want to make a 10-12 inch layer cake with multiple layers of cake and frosting!

Lady Finger Bowl with White Chocolate Mousse Topped with Strawberries

This dessert looked so beautiful in the book and I couldn't wait to make it! All in all, it tasted wonderful, but it was difficult to assemble.  The first thing I had to do was make lady fingers. Lady fingers are a sponge cake and you actually pipe the batter into lines before you bake them. In this case, the "bowl" for the mousse is made out of lady fingers, so when pipping the batter, the lines needed to be touching.  The first mistake I made, was drawing in pencil the lines that I needed to stay within to make a straight row. The trick is to draw the lines in pencil and then flip over the parchment paper. I didn't do this, so I ended up with pencil marks on the lady fingers! You can see this in the picture if you look closely. UGGG

The  next step was to make the white chocolate mousse.  White chocolate is sensitive to heat, so it was tricky to make.

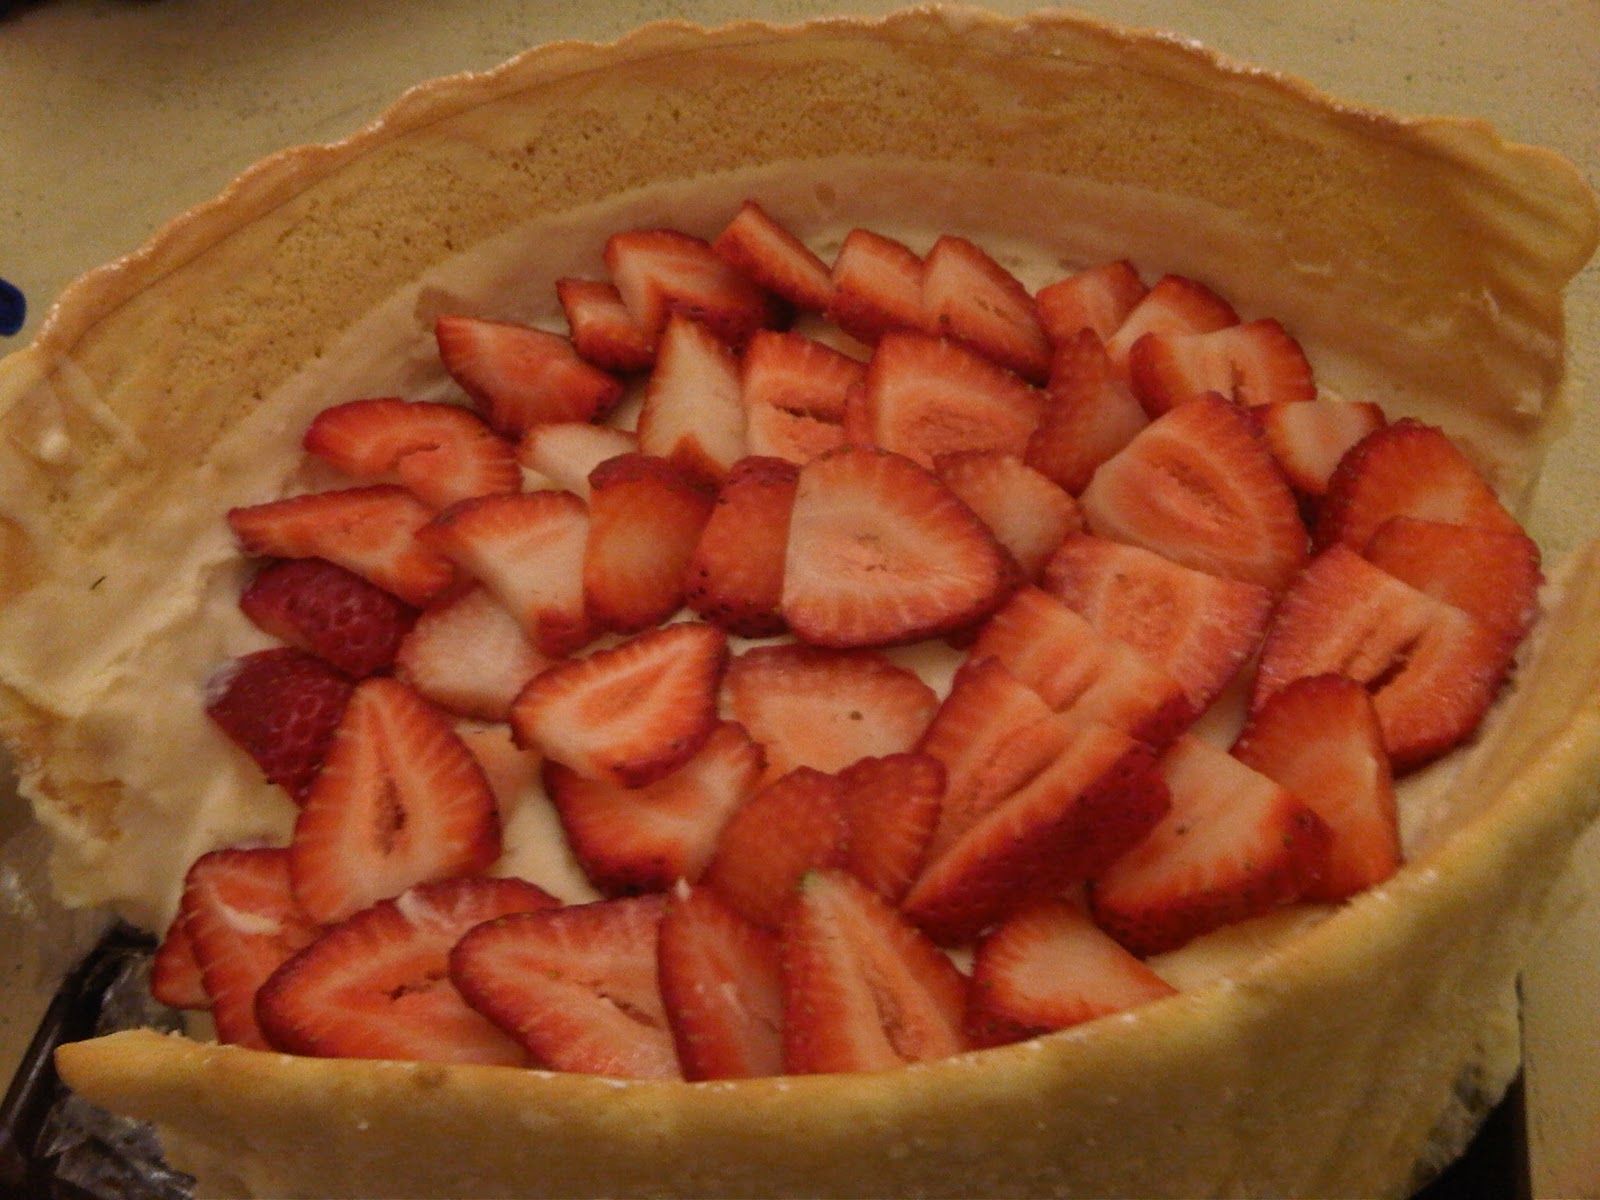
Finally, I had to assemble. I took the two rows of lady fingers and lined a spring form pan. I'm still not sure how this part is supposed to work because I don't see how the two rows are supposed to stick together! As soon as I put the mousse in, the seams started splitting???

So, this dessert was not pretty, but it tasted great!